In this video I’m going to show you how to create a nice touch controller for your light setup. Using a voltage regulator to control the brightness and touch sensor to turn it on and off, you can build an awesome controller to turn on and off your lights or any other DC powered unit.
4 CommentsTag: LED

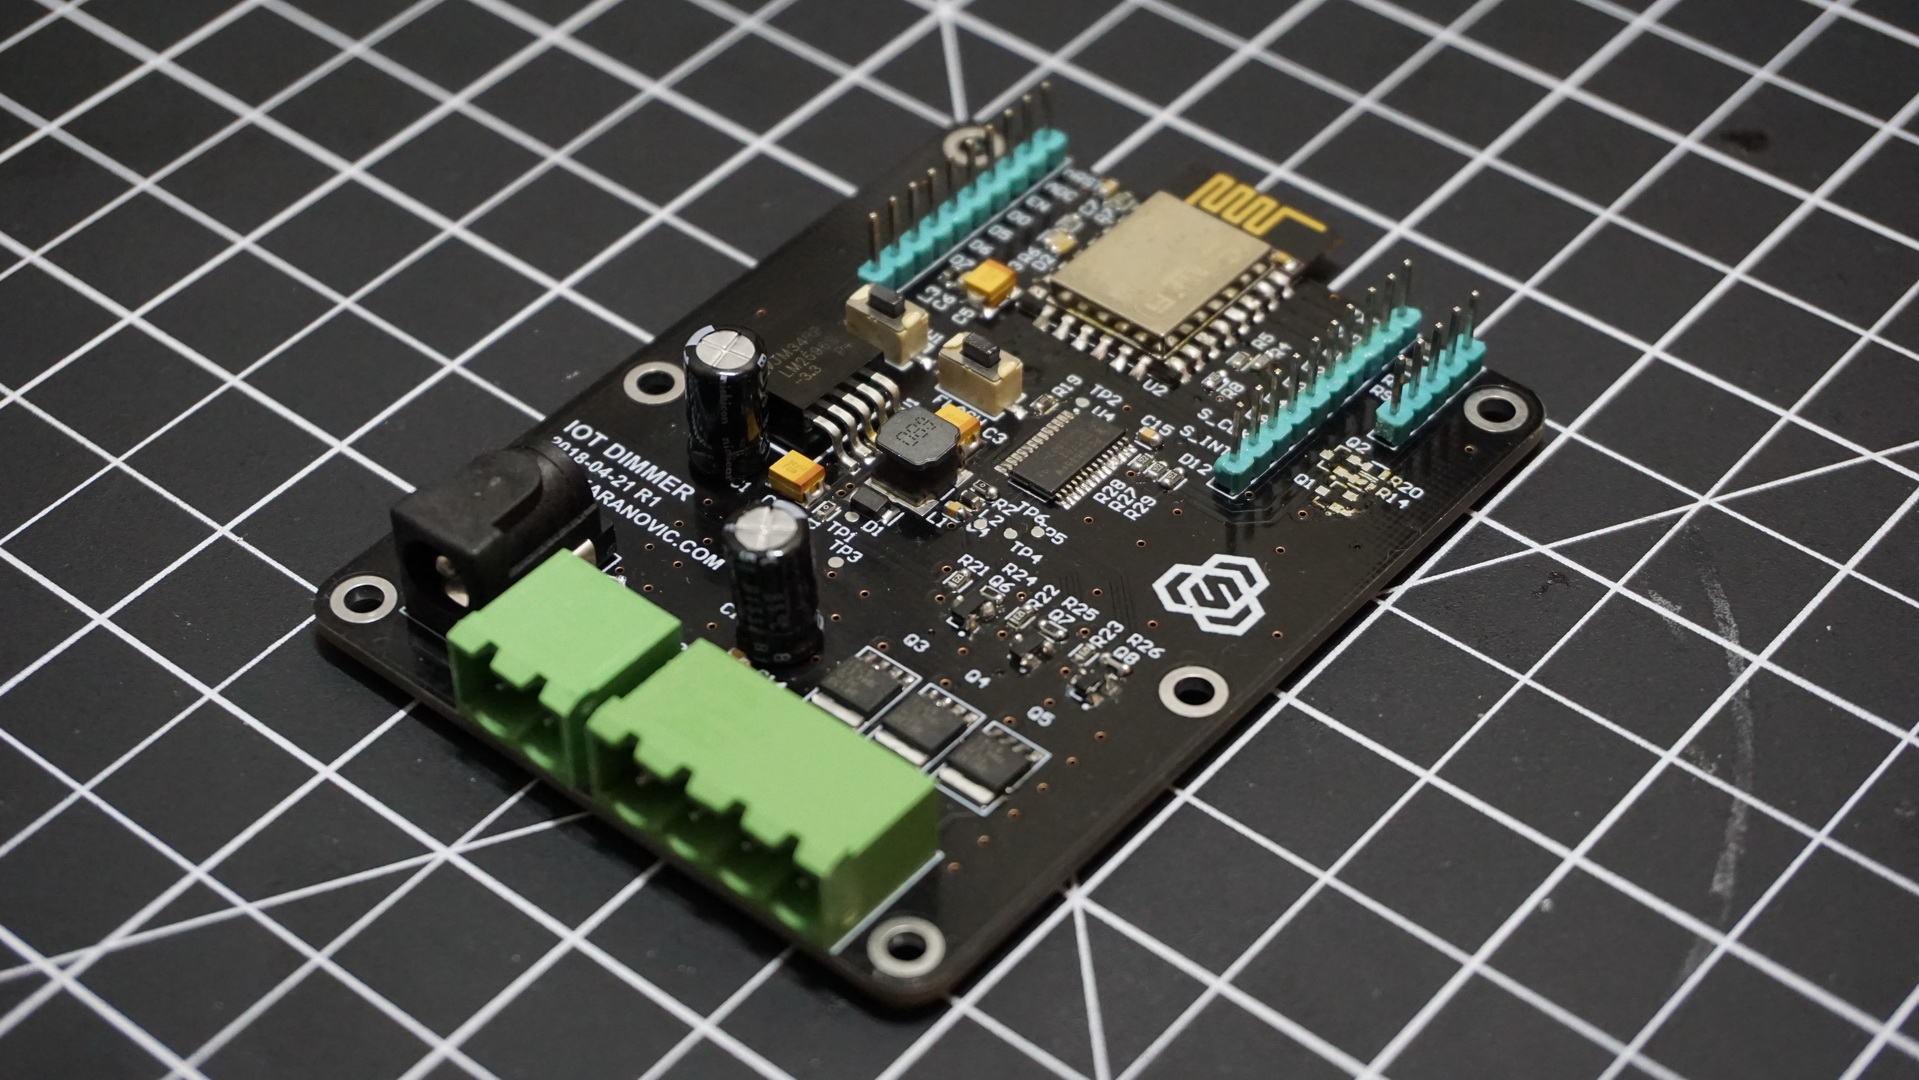
Making a IoT LED dimmer that you can control via your PC, phone, tablet or any other device connected to the network is super simple, and I’m going to show you how.
I’m sharing my three channel LED dimmer that you can use to dim single RGB LED strip or dim three separate LED channels. I want to be able to control lights above my desk and also mix warm white and cool white strip to give me more flexibility over lighting while I’m working, taking pictures or watching movies.
This is going to be a very short and very simple project that if you follow steps below, you can build it in an hour (excluding lead time for components).
Heartbeat key-chain is intended to be a small gift that your loved one can carry with her/him wherever she/he goes.
Basically top side of the PCB is touch sensitive and has one RGB LED. When the exposed copper on the top side is touched, the microcontroller detects it and begins to pulse the LED in the heartbeat like pattern.
Bill of material, schematics and source code are available on GitHub.
I am posting render images of the PCB since I’m waiting for the Fab house to manufacture the boards for me.
2 CommentsThis weekend I have found some RGB LED strip laying around so I decided to build custom RGB LED strip to decorate my room. The RGB controller that I’ve built is based on Microchips PIC16F1455 microcontroller. It works as ambient light in my room and also there is an option to use it as mood light (randomly change colors every…
Leave a Comment This is the Light Show made from LEDs and few discrete components like resistors and transistors. It transforms audio signal into light signal with LEDs. We have used two types of LEDs, white and blue, each one for different sound channel (from stereo audio output).
Our prototype was first built on solder-less breadboard. Link to YouTube video
Components that are required for this build:
– 5 VDC regulated power supply (You can use your USB cabel)
– 2 NPN transistors (any transistors will work, we have used BC547 for our prototype) (for one channel)
– 1x300K resistor and 1x33K resistor (for one channel)


