Press "Enter" to skip to content

Sasa Karanovic Posts

IoT LED Dimmer

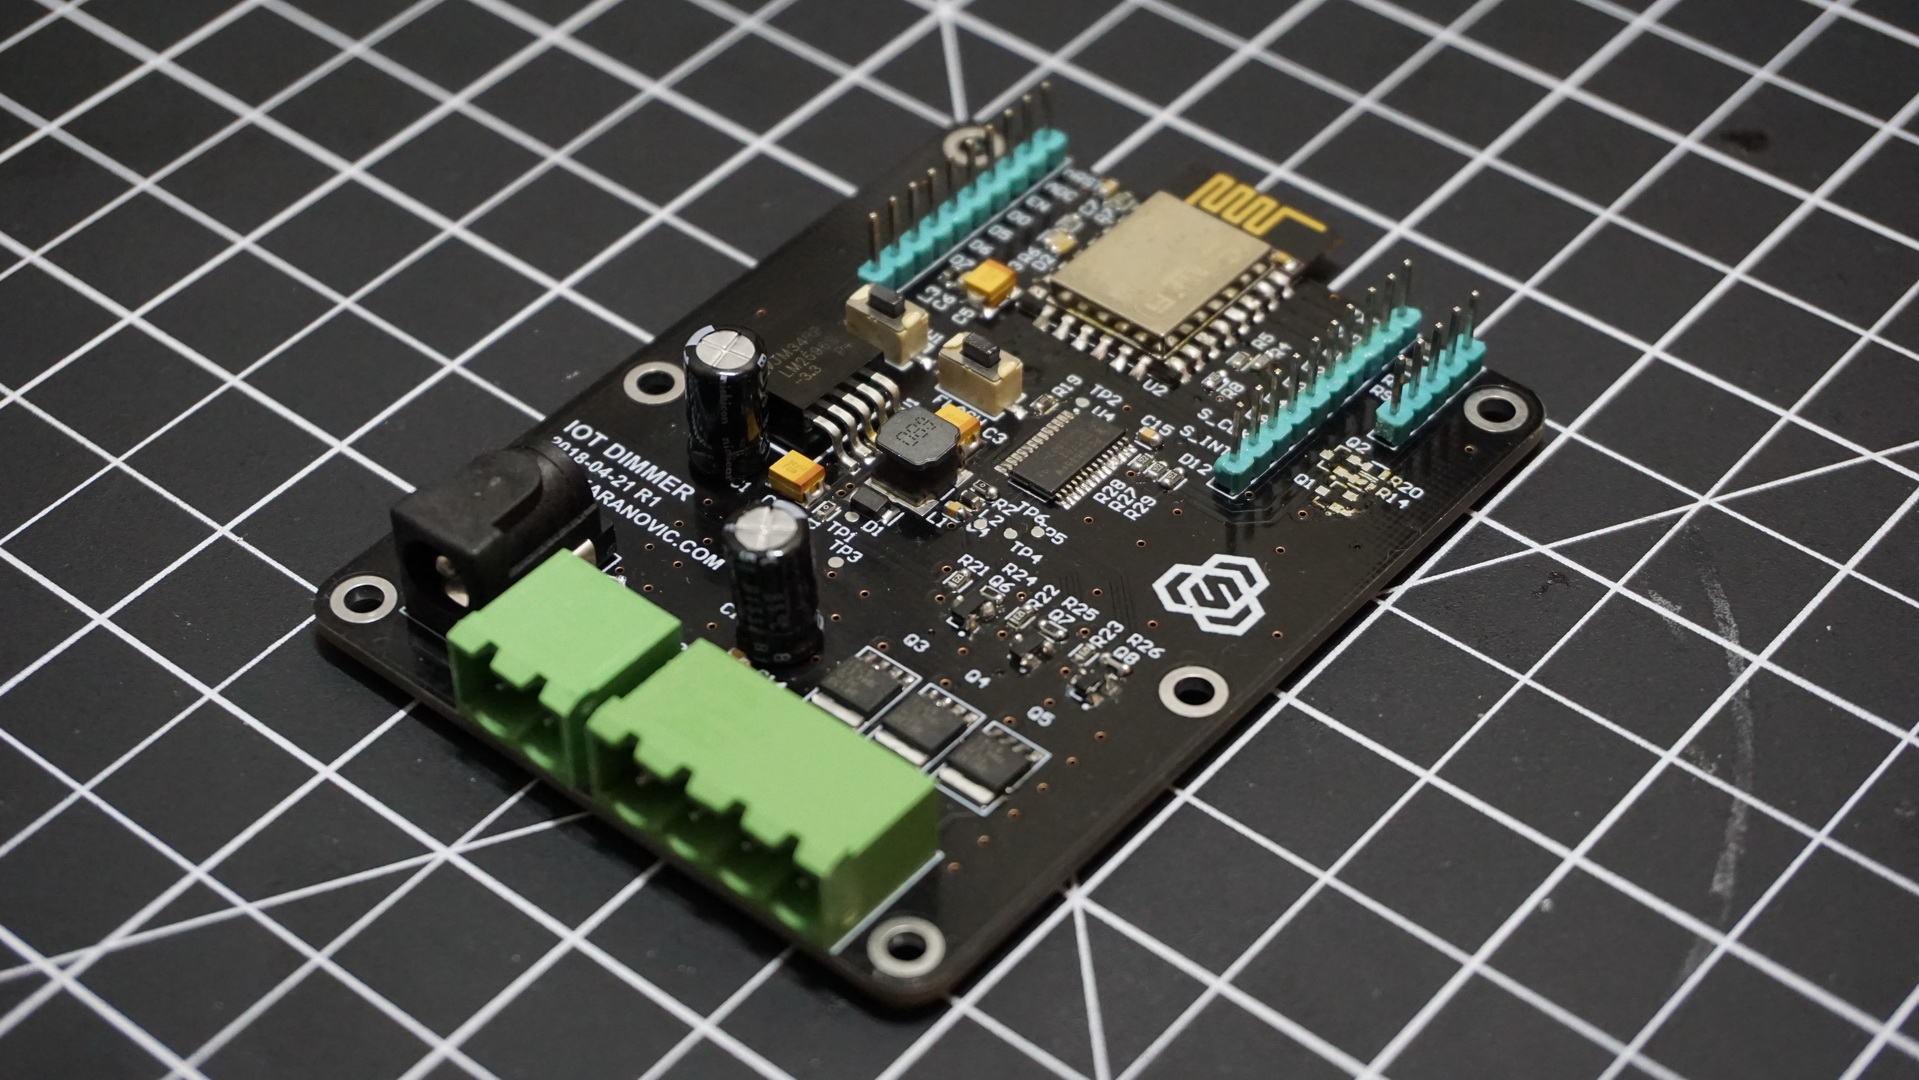
Making a IoT LED dimmer that you can control via your PC, phone, tablet or any other device connected to the network is super simple, and I’m going to show you how.

I’m sharing my three channel LED dimmer that you can use to dim single RGB LED strip or dim three separate LED channels. I want to be able to control lights above my desk and also mix warm white and cool white strip to give me more flexibility over lighting while I’m working, taking pictures or watching movies.

This is going to be a very short and very simple project that if you follow steps below, you can build it in an hour (excluding lead time for components).

13 Comments

DigiKey Fetch Tool

Making a BOM (bill of material) for projects and keeping them up to date is really important. But also it is a tedious task that few people enjoy.

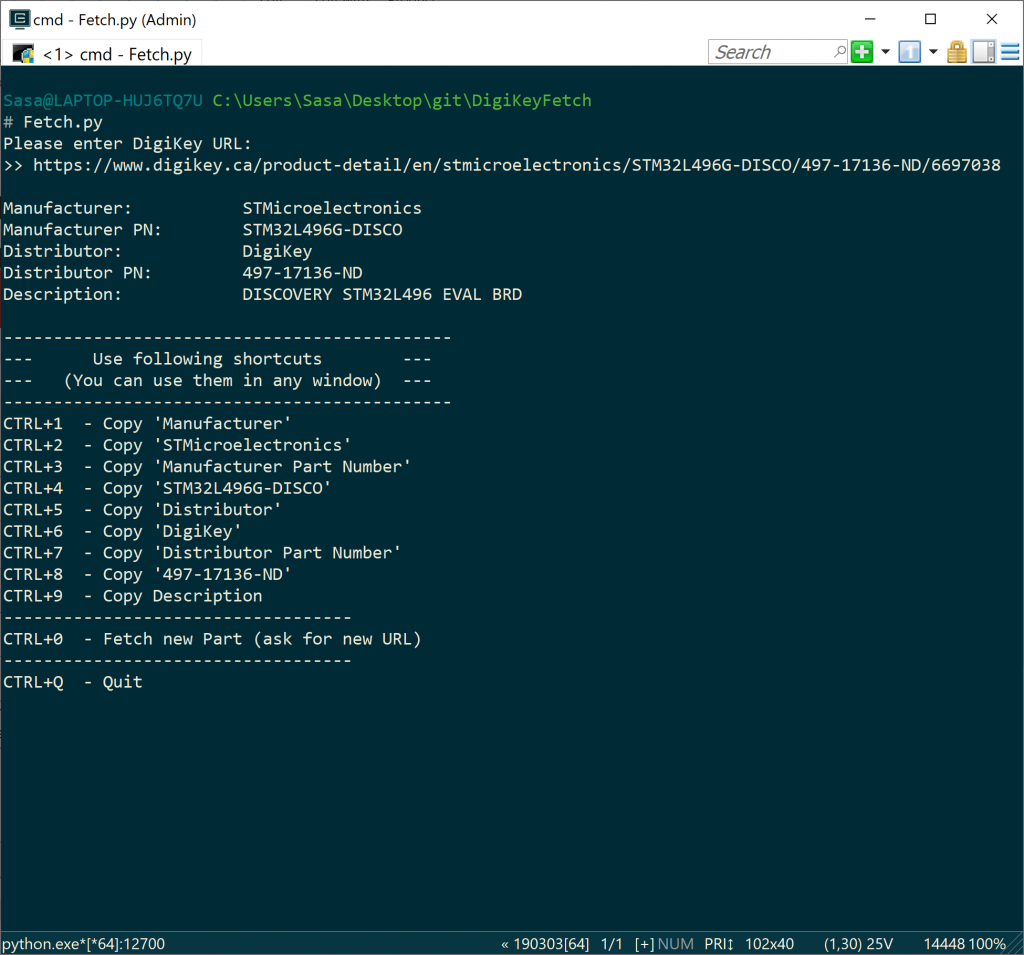
In effort to improve workflow when creating new components or updating existing ones, I have create a Python script that will fetch all important data for a component that you might want to use.

This tool has greatly reduced number of alt+tab / copy & paste juggling from my creating/maintaining BOM workflow, and I hope it does the same for you.

Leave a Comment

Make your own Heart Keychain

This one is a very simple but cool project, something that I would recommend to anyone who is interested into DIY electronics, gadgets and learning new stuff in general. It is definitely one of those projects that don’t require too much time but you can learn a lot by making it and also earn a lot of credit by sharing it with your friends and family.

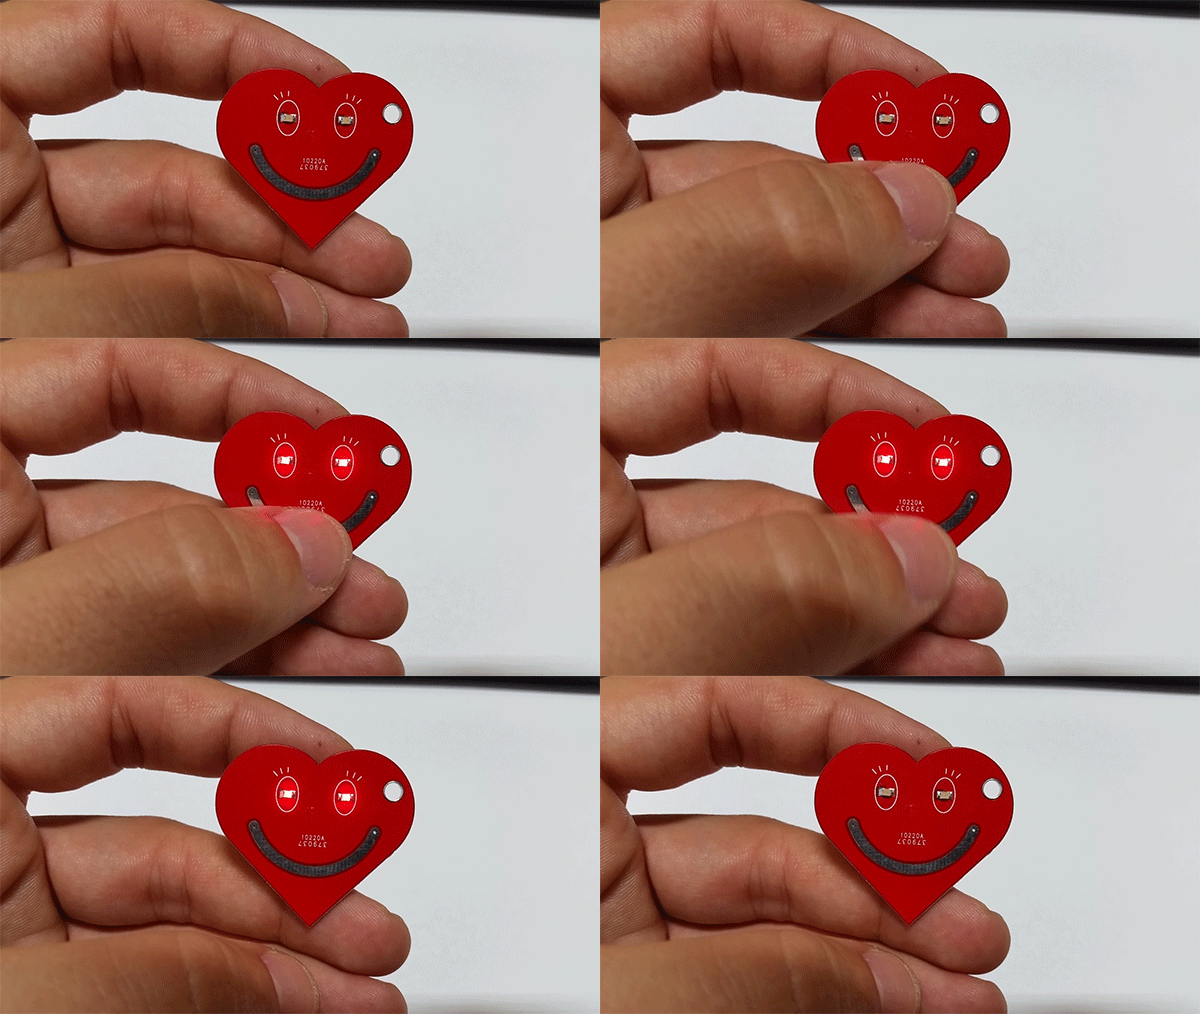
Below you can see a final product. It’s a heart shaped, touch sensitive, keychain for your loved ones. On the front side there is a smiley face drawing that has eyes and mouth. Eyes have two red LEDs that will start to pulse once you touch the keychain or place you finger on the smiley face (see it in action below)

9 Comments

Announcement: New and interesting things are coming

Hello everyone! I have an exciting news to announce. As you may have noticed my blog has not been very up to date or had content published on regular basis. I am very sorry for that and I promise that going forward there will be regular content published here. Also I would like to give a HUGE THANK YOU to all of you who have visited my website on regular basis looking for new content. Thank you and a virtual high-five to all of you!
TL;DR: I am going to be making new projects and releasing new and interesting content on a regular basis!

Leave a Comment

DIY Wake-up Light – Wake-up easily and well rested

Theory behind this project

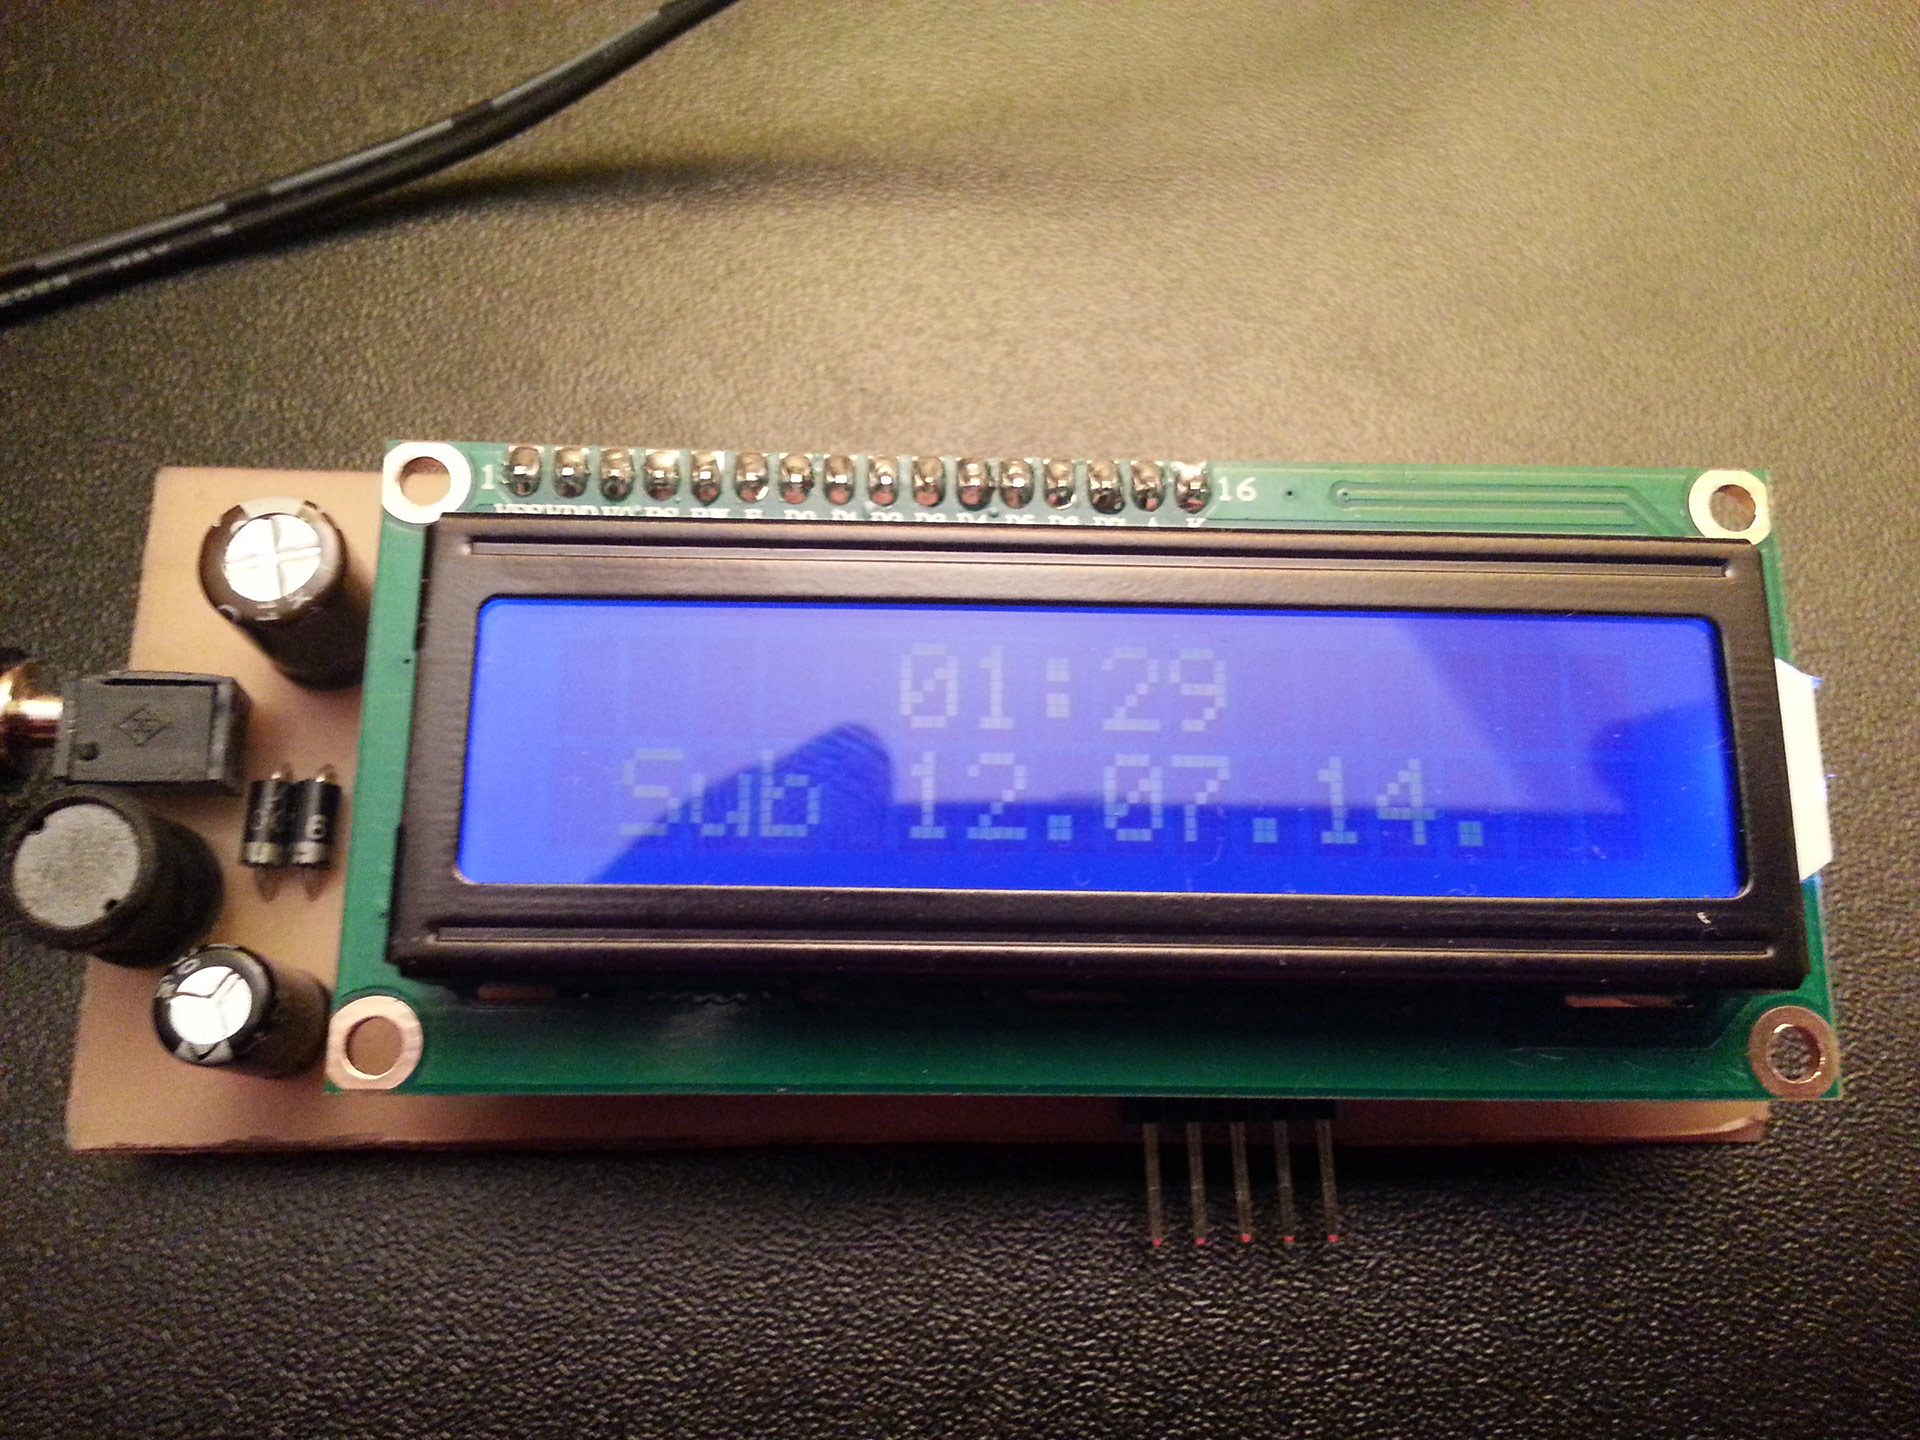
Another weekend project that I’ve been working on is Wake-up light. Lately I’ve been doing more research on sleep phases and how to “hack” your brain to wake-up more refreshed and adjust your sleep cycle. There are many studies out there explaining this and providing scientific evidence, so if this is something you are interested in, I encourage you to go and get more detailed information on this subject. However I won’t go into too much detail, I’ll just try to give very simple explanation: When you sleep, you are either in REM or deep sleep (NREM) phase. When you wake up in REM phase you feel fresh, relaxed and full of energy. When you are woken up during the deep sleep phase, you feel like you’ve just been hit by a bus, and you take long time to actually wake up.

2 Comments

New project – Sensor board for smart home

These PCB-s are a part of much bigger project that I am currently working on and I have been waiting for them waaaay too long. Boards are designed to house two I2C sensors, (almost any I2C sensor breakout board can fit onto dedicated headers), at the moment I am using Temperature+Humidity sensors, Pressure Sensors, Ambient Light sensors and few others on these boards. Also I am using PIC16F1829 microcontroller to do all the “magic” and nRF24L01+ for communication with the main unit that does storage, data analysis and communication with other parts of the project.

2 Comments

USB Power supply Active Load Tester

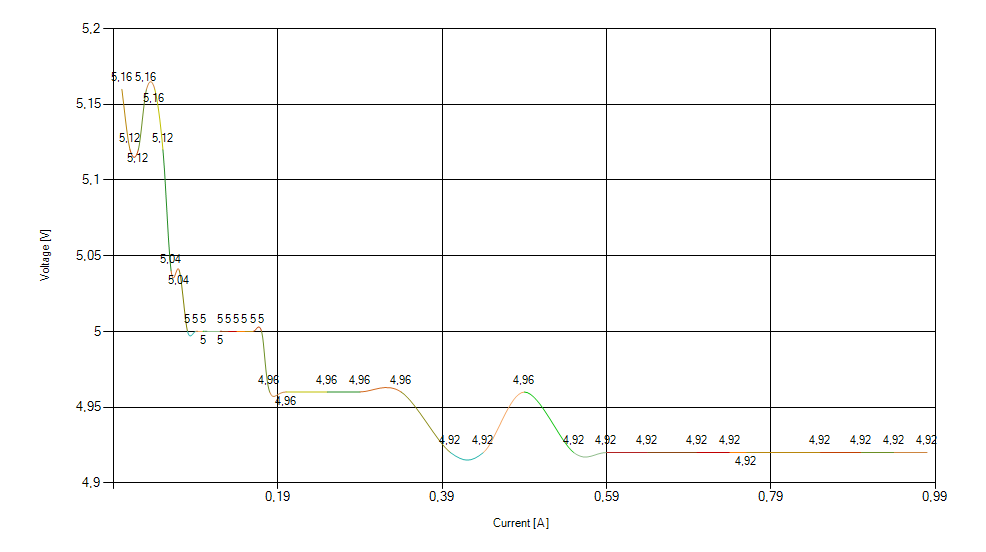
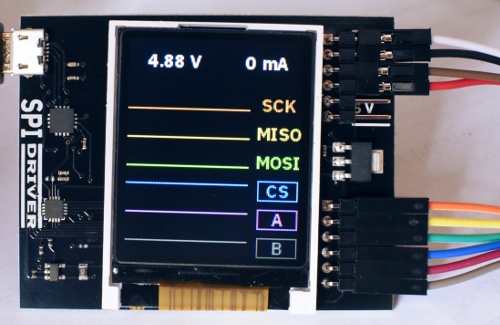
USB Power supply Active Load Tester or short PAL Tester is unit designed for testing the quality of the power supplies.
Idea was to create low-cost, precise device for simultaneous measurement of Voltage and Current drawn from the device under test. This is one of my weekend projects that I have decided to release to the public. All source files can be found on projects GitHub page.

Device Features:

  • Open Source and Open Hardware
  • Modular design, easy to understand and change/adapt to your needs
  • Uses widely available and off-the shelf components
  • Components Bill of Material is below $10
  • Integrated USB-to-Serial converter for easier interface with the device
  • API for communicating with PC
  • Recording Voltage vs Amps data and graphing the results
  • Easy to use
1 Comment

Power Supply Active Load Tester – Open Source Open Hardware project

I’m working on a new weekend project that will be released as soon as I finish the Windows application and it will be released as open-source open-hardware project. The uber-cryptic title stands for “Power-supply Active Load tester”.
Recently I was in need for a simple device that will draw reasonably precise amount of current from my power supply unit under test and read the voltage and current draw. There are a lot of schematics and products that do just that, or you can do this just with two digital multimeters, op-amp, mosfet and potentiometer and that will probably work just fine, but I wanted to create my own version and try to improve it. 🙂

2 Comments

Mini project: Heartbeat Keychain


Heartbeat key-chain is intended to be a small gift that your loved one can carry with her/him wherever she/he goes.
Basically top side of the PCB is touch sensitive and has one RGB LED. When the exposed copper on the top side is touched, the microcontroller detects it and begins to pulse the LED in the heartbeat like pattern.

Bill of material, schematics and source code are available on GitHub.

I am posting render images of the PCB since I’m waiting for the Fab house to manufacture the boards for me.

2 Comments